
Axis Mundi
A secure, resilient, distributed and open communication platform.
Introduction
This decentralized platform allows people to communicate and if desired, trade with each other securely through their existing anonymity network of choice.
100% of the software is open-source and freely available for download and inspection.
A person who wishes to access the platform must run a small piece of software (the client) which executes wholly on their own system and is responsible for ensuring communications are secured and correctly routed through the network to the desired recipients. There is no centralized list of users, rather each person identifies themselves to the network and each other using a PGP key of their choosing.
After starting the client, users access the platform via a standard web browser, all browsers are supported and the platform makes no use of any client browser side scripting (e.g. Javascript). The client is shown in this screenshot.
The client enables users to:
- Publish a profile for other users to see
- Publish listings, or items that they may have for sale
- Send and receive private messages with any other users
- View profiles and listings of other users
- Place orders for items that other users are selling
- Accept orders from other users who wish to purchase fron you
- Use third party notaries (other users) to act as both escrow agents and/or to notarize orders thus allowing buyer and seller feedback/ratings to be left.
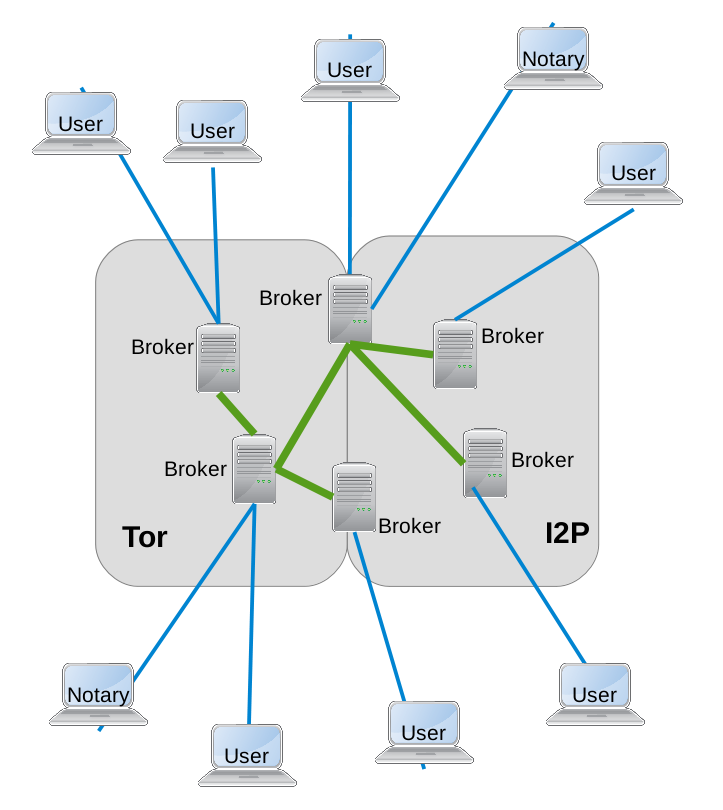
The decentralized platform utilizes a number of independent but federated broker systems which accepts communications from users and ensure that messages for other users are delivered immediately or stored until the recipient is next online. All brokers synchronize data between each other and clients will randomly choose a broker to connect to each time the client is started.
Although anybody can run a broker it is expected that very few users will do so however as it requires a system that will remain permenantly connected to Tor and/or I2P. The number of brokers is expected to vary over time as are the number of broker operators.
The client is designed to place no trust in brokers and also to remain largely unaffected in the event that even the majority of brokers are taken out.
Obtaining the software
The client software may be downloaded from the primary repository which is hosted on GitHub. There are two options available.
- Download the Python source code and run directly from source
- Download a pre-compiled binary for the desired platform (Linux, Mac or Windows)
Client Walk-through
The client software, which is the only component that most users will have exposure to, is intended to be simple to use. The following series of screen shots summarize the application as it stands right now.
The very first time that the client is run, an installation screen will appear when the client is accessed through the browser. The installation screen requires that you select a PGP to use as identity as well as provide details such as chosen display name (the name shown to other users) and Tor and i2p proxy settings. You should ensure that your proxy settings are correct although you will be able to change them later.
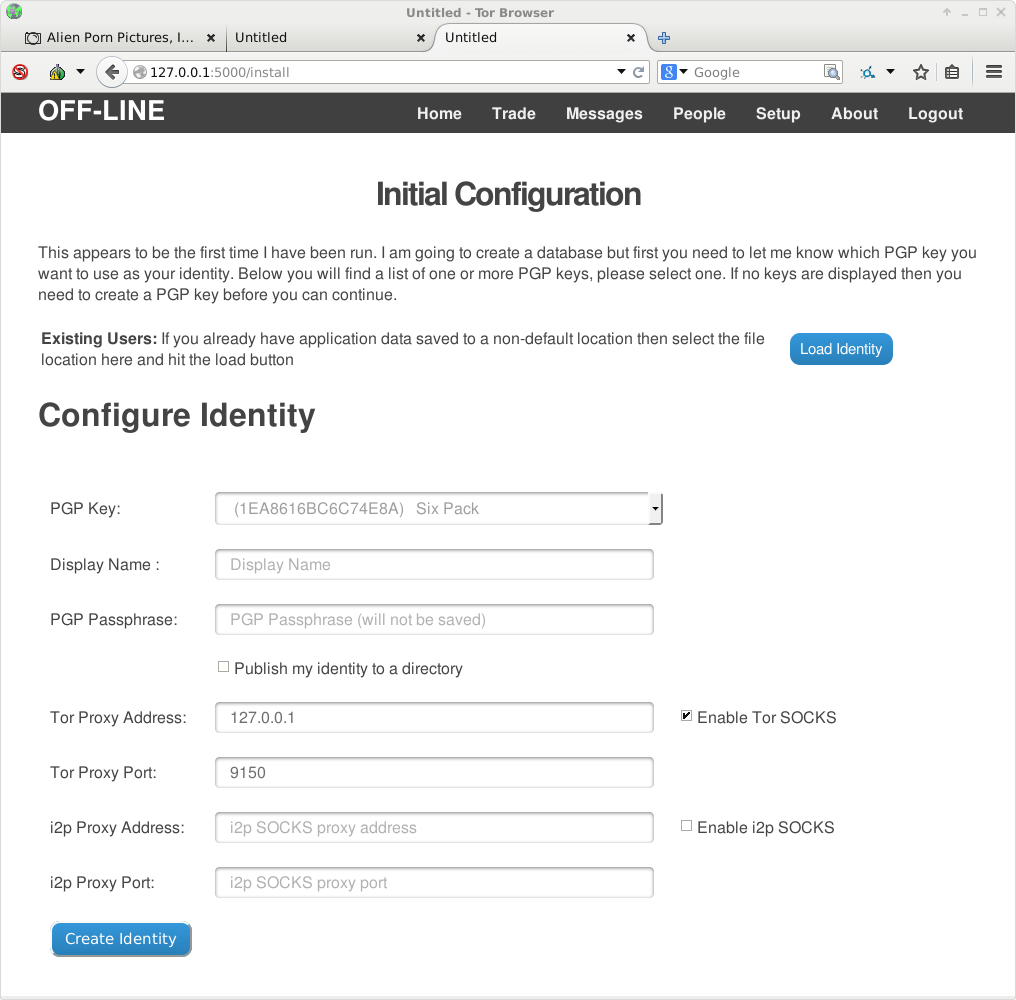
At this stage no network communications have been attempted and the client is completely off-line.
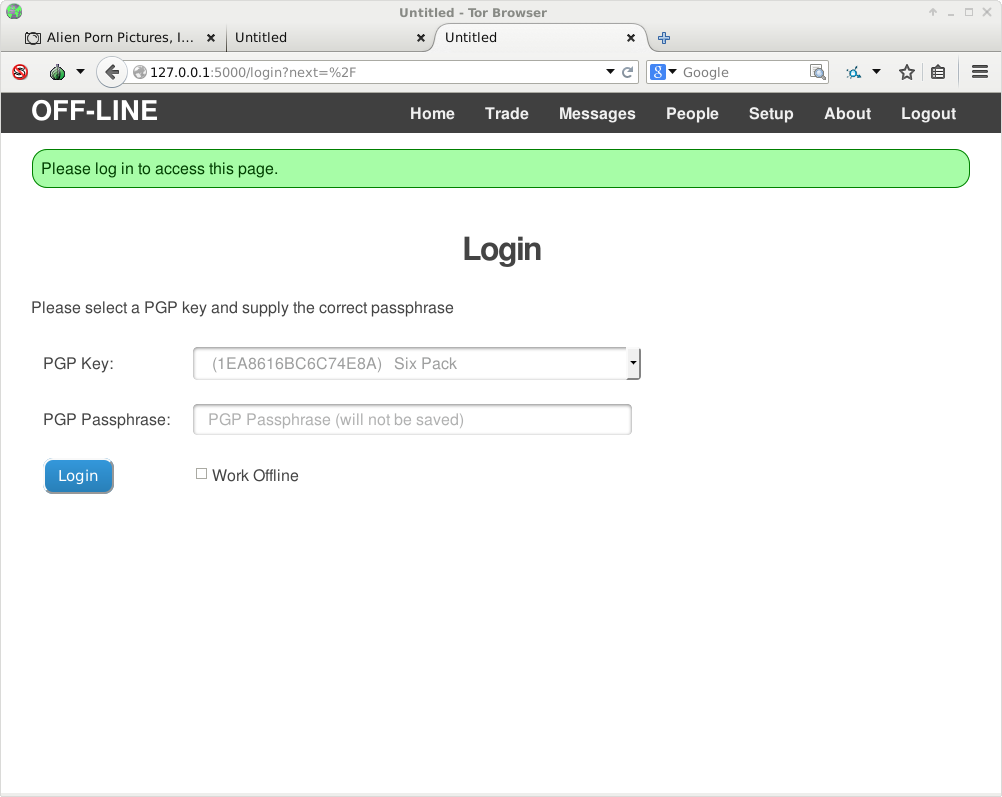
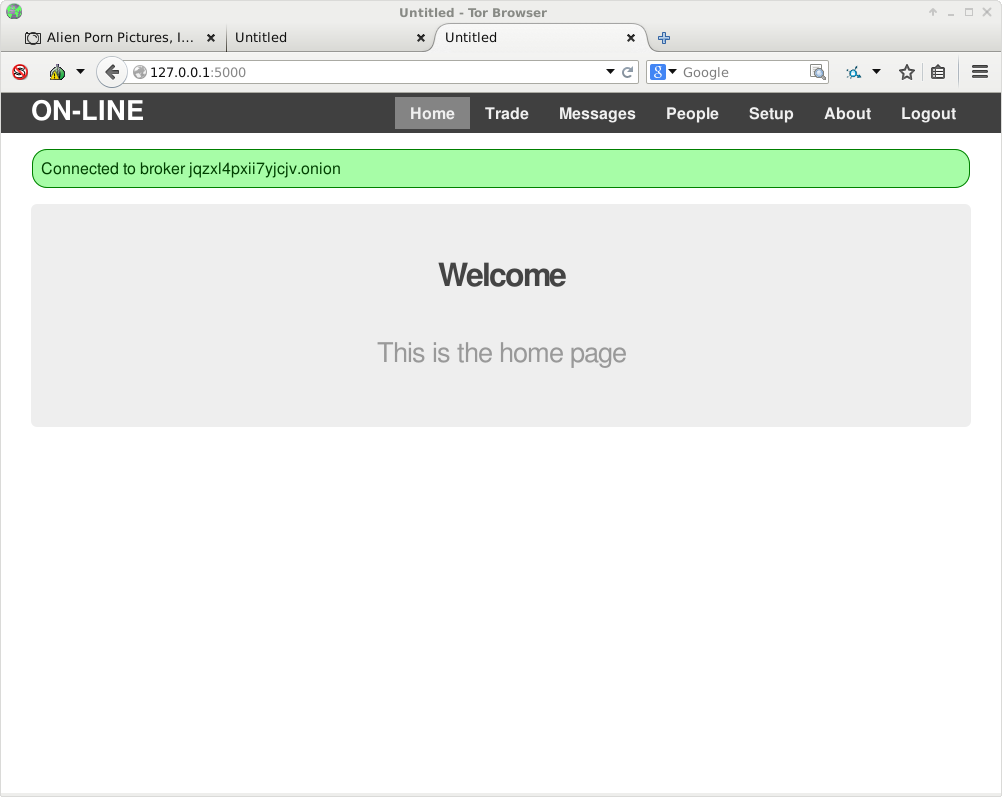
From now on the you will be presented with a login screen where you must select the PGP key specified during installation and provide the correct passphrase. After hitting the login button the client attempts to connect to a randomly selected hidden service entry point (broker) to authenticate against.
If login is successful then you will be presented with the home page of the client which is currently rather sparse. A dropdown menu is presented at the top of the screen along with the current connection status of the client.
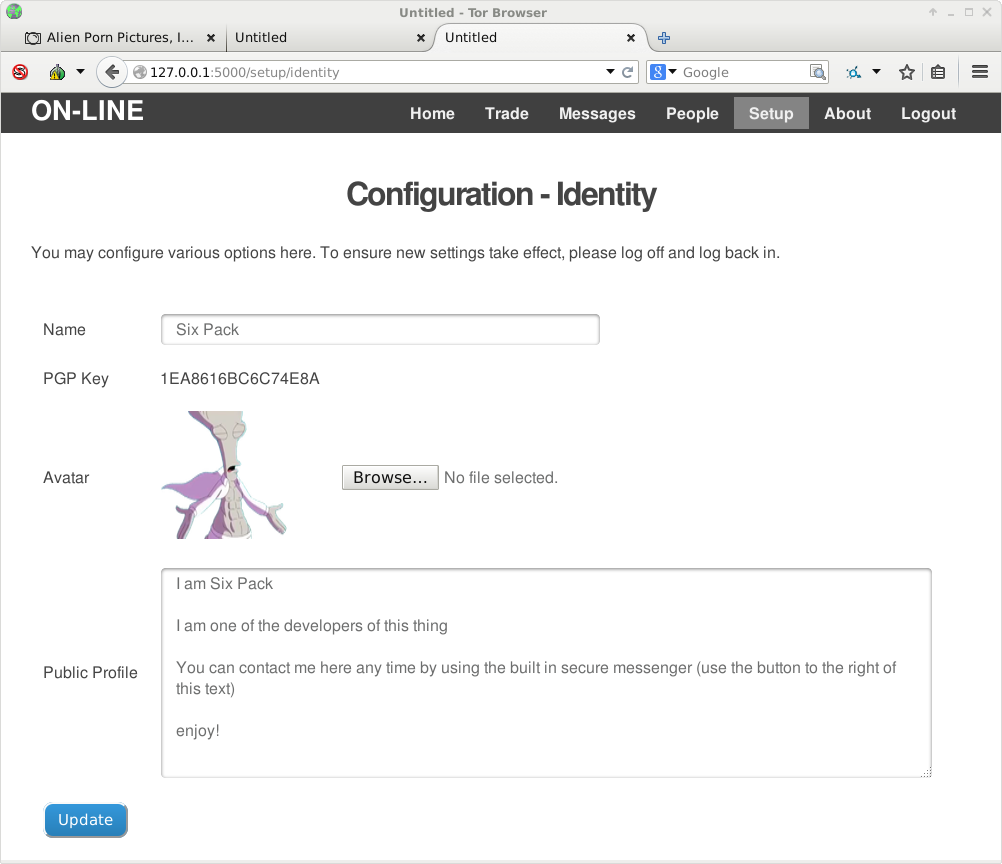
Your first steps should be setting up your client, especially your public profile should you want one. All set-up screen can be found underneath the 'Setup' menu.
The identity set-up page is shown below
And the network set-up page is shown here. You should also set-up your network settings if you didn't set them during installation. If you wish to use I2P then you will need to ensure that a SOCKS proxy is enabled and configured o the network setup screen.
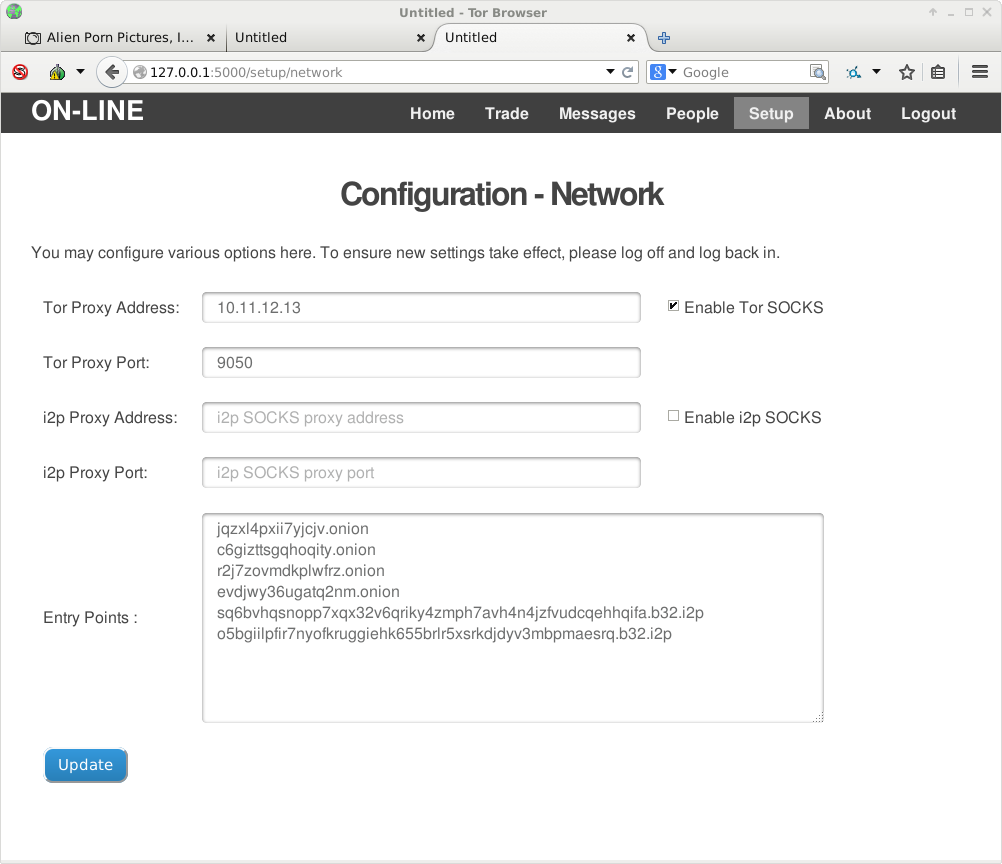
You should always logout and then login to make sure that configuration changes have taken effect
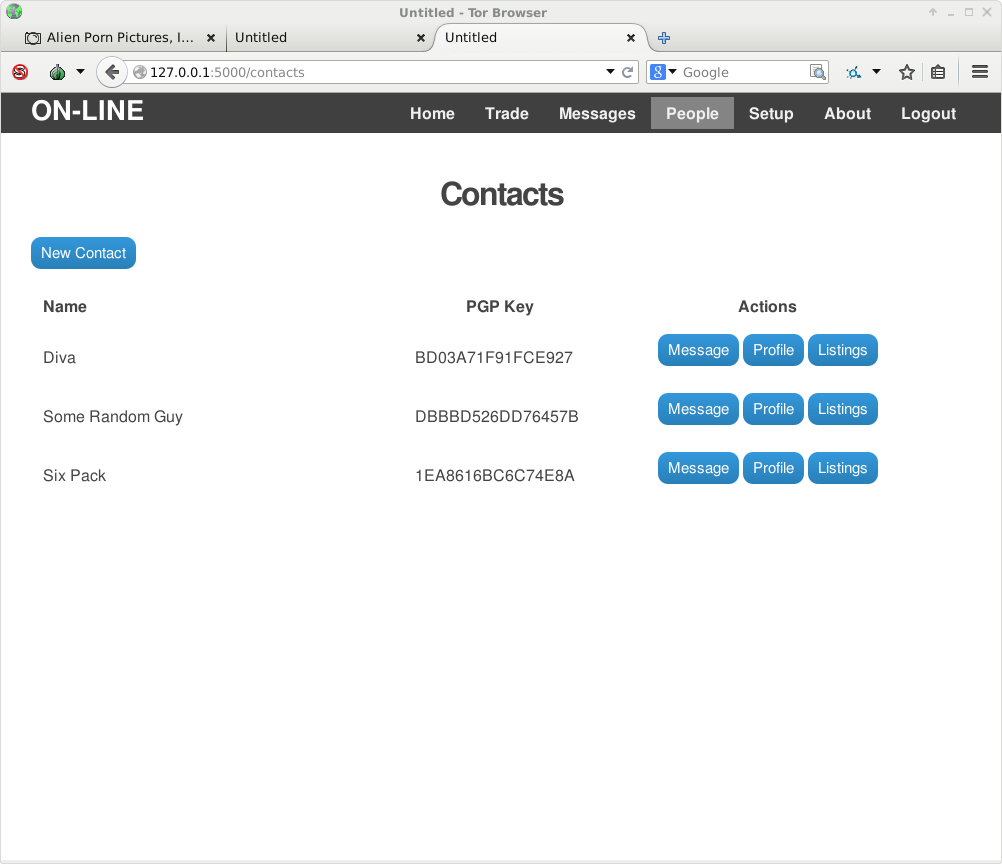
At this time, there is no directory available of users so it is important that your contacts list is populated with the other users you want to communicate or trade with. The client application has a simple contact manager that enables you to view and add contacts. Contacts can be added by simply pasting in their PGP public key or by adding them from their profile page. From the contacts page you can also send contacts a message, view your contacts profiles (if they have one) and also their listings for sale, again if they have any.
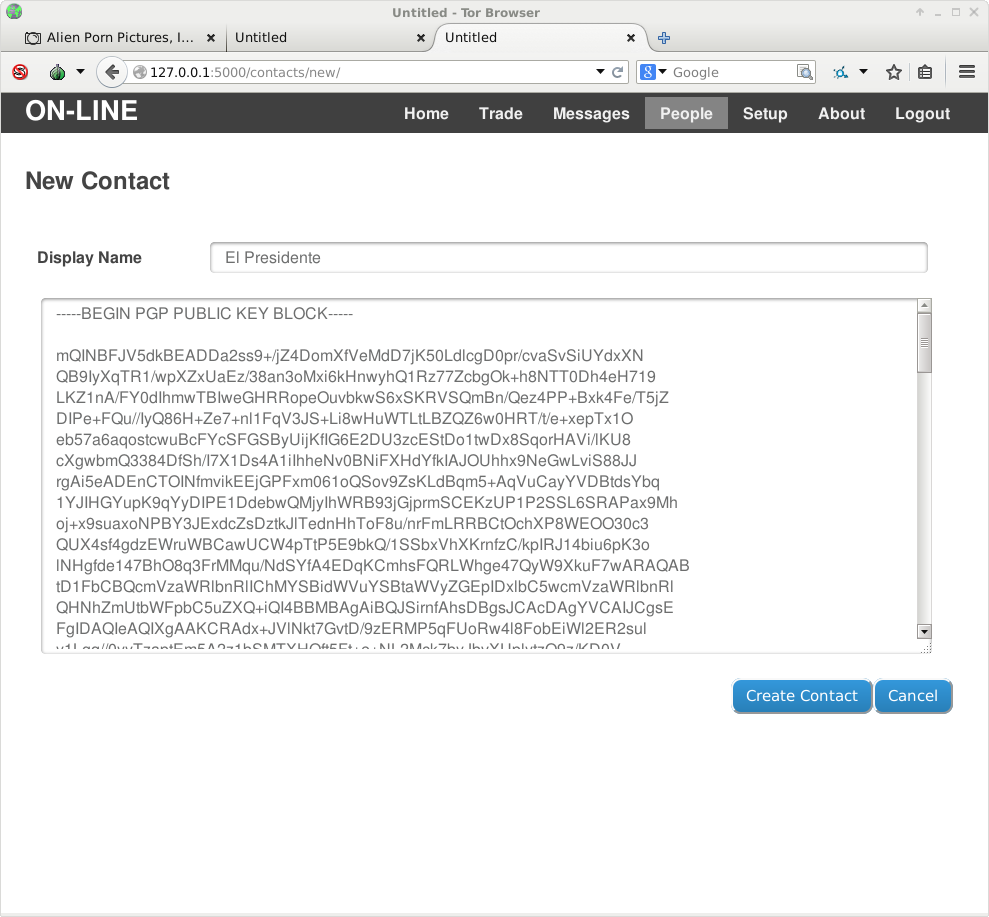
Adding a contact by PGP key is very simple, in the screenshot below we are adding a friend to our contacts by pasting their public key into the box and hitting the add button.
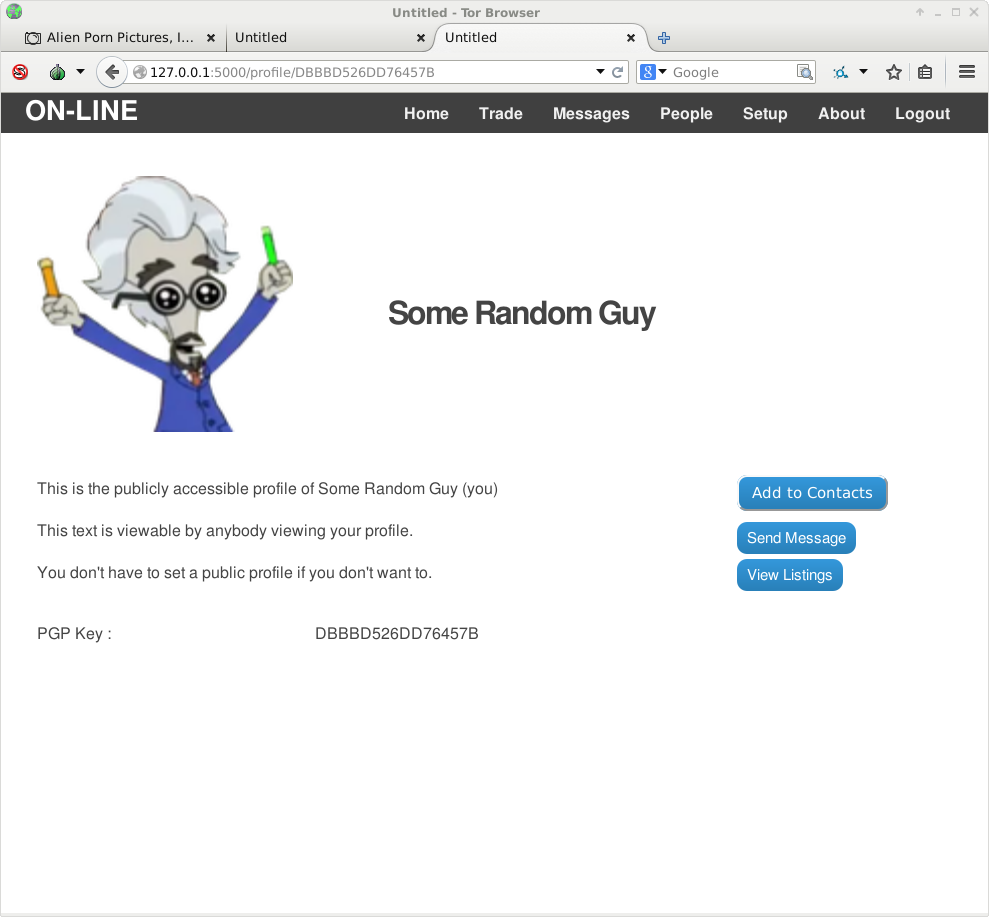
It is possible to view another users profile from the contacts page and in fact clicking a username on almost any page will also show you the user profile.
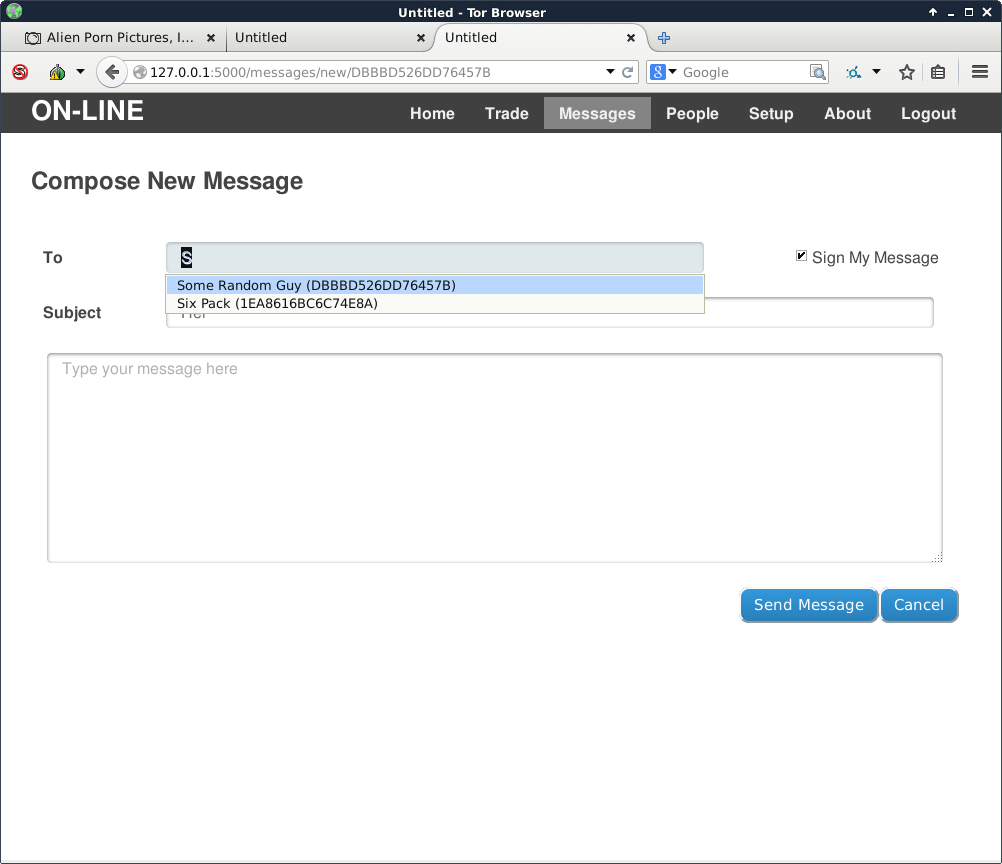
The client has a simple but secure private message facility built in. The PM facility automatically PGP encrypts all outbound messages and automatically decrypts all encrypted incoming PMs. You are more than welcome to double encrypt messages if you feel it is necessary. All PM functions are available from the 'Messages' menu item. Creating a new message is very easy, just click on 'Create Message'
Note that if you are creating a new message from scratch, a drop-down box with your contacts appears when you start to type in the recipient/to field.
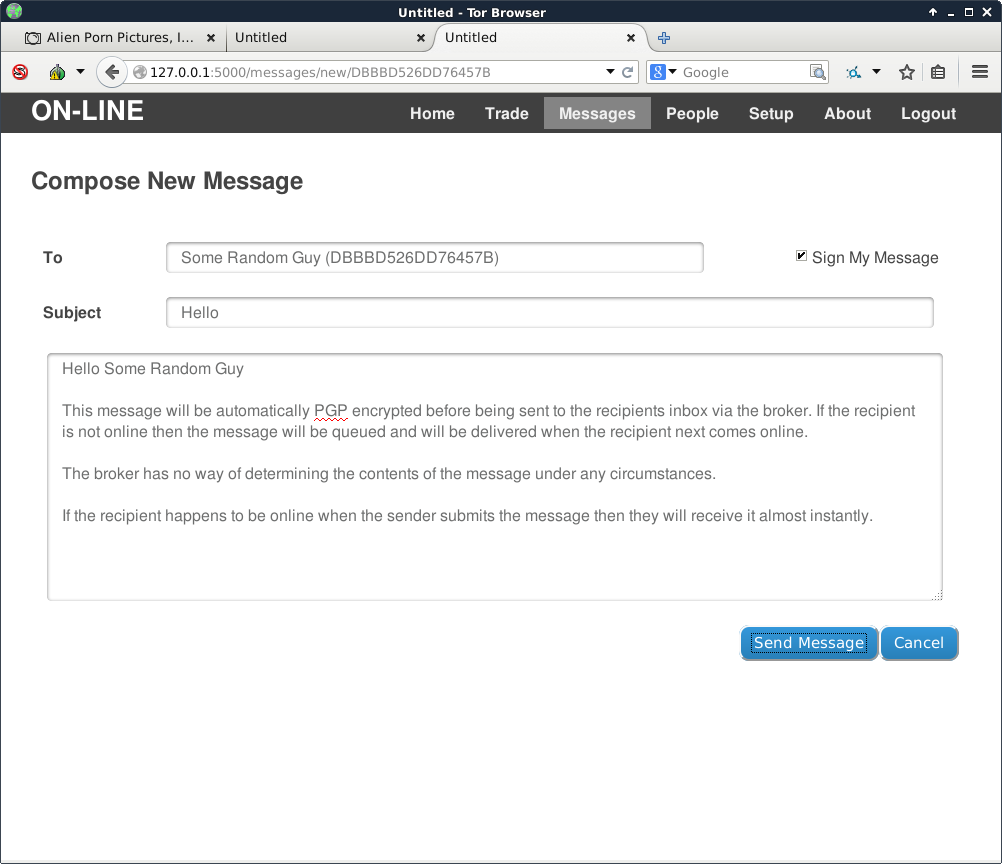
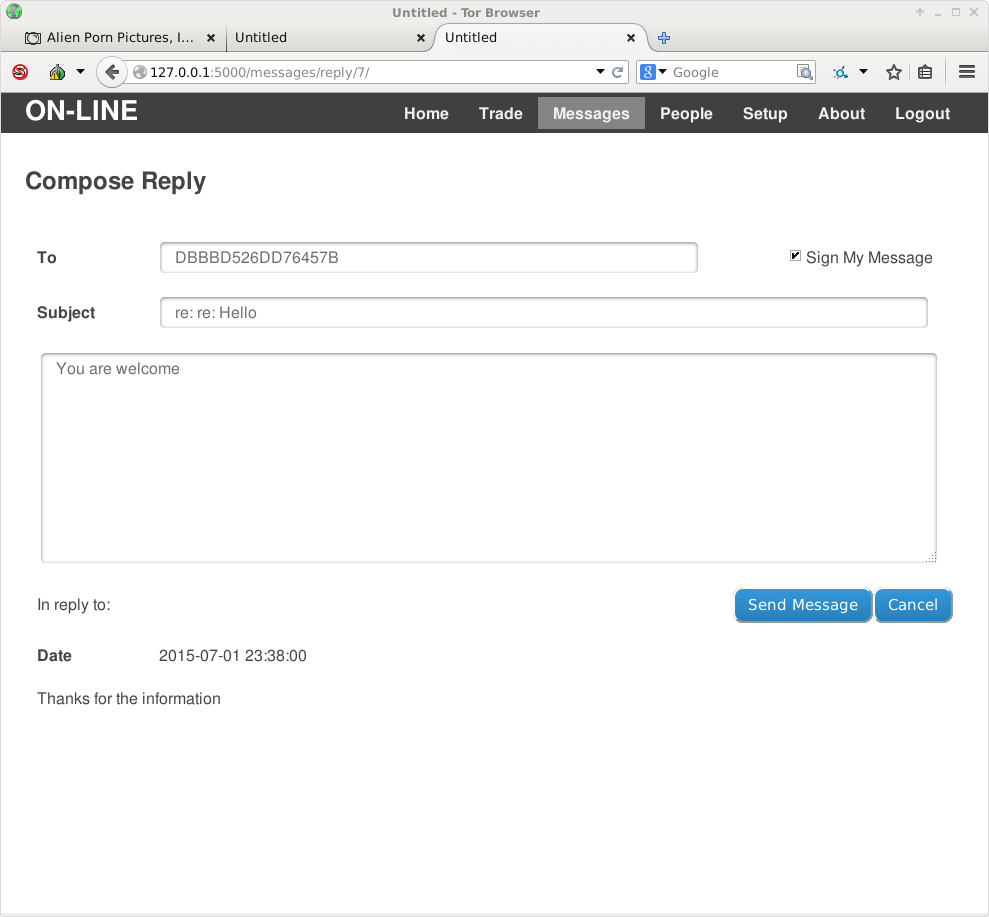
You can provide a subject and message body, signing the message is optional but is the only way that the recipient knows that the message really was from you. Signing of outbound PM's is on by default. The mail can be sent by hitting the send button unsurprisingly.
You can view your current inbox easily from the Messages menu by selecting 'Inbox'. In the next screenshot you can see what the inbox look like but also note that the client is notifying us that a new PM message has been received.
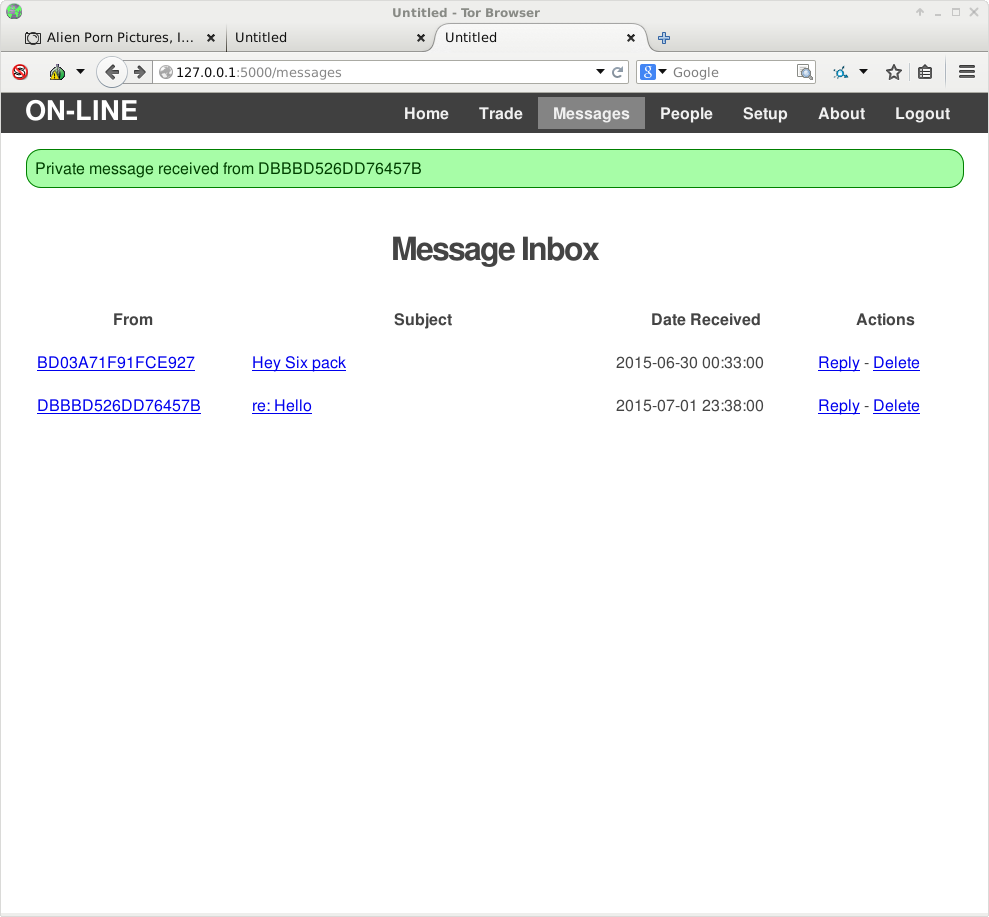
Selecting any of the messages in the list will show the full message iincluding the body.
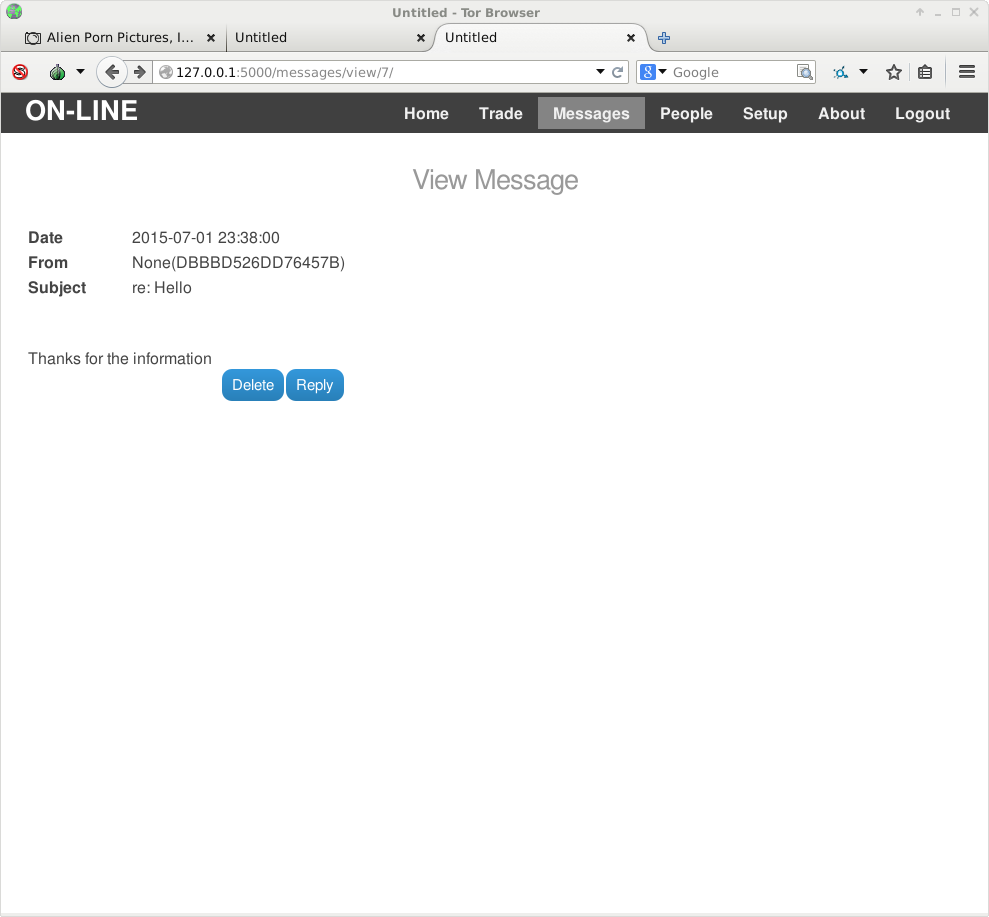
And it is very simple to respond by simply hitting the reply button
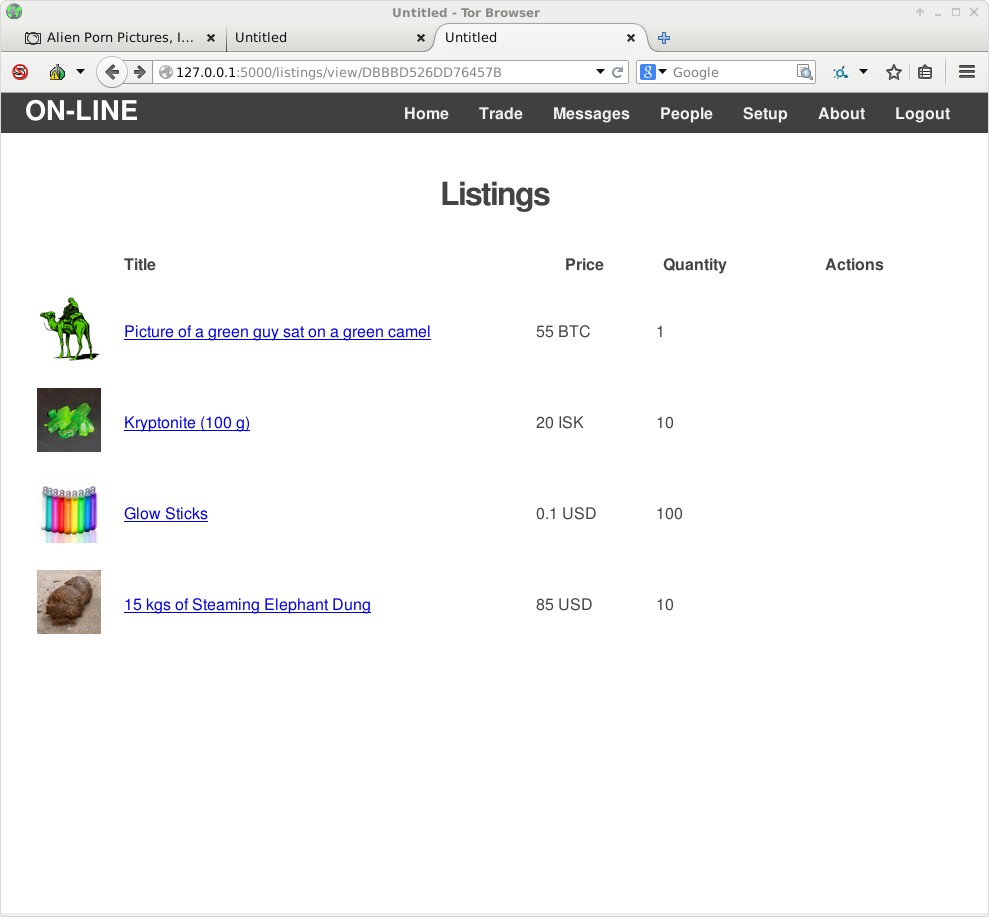
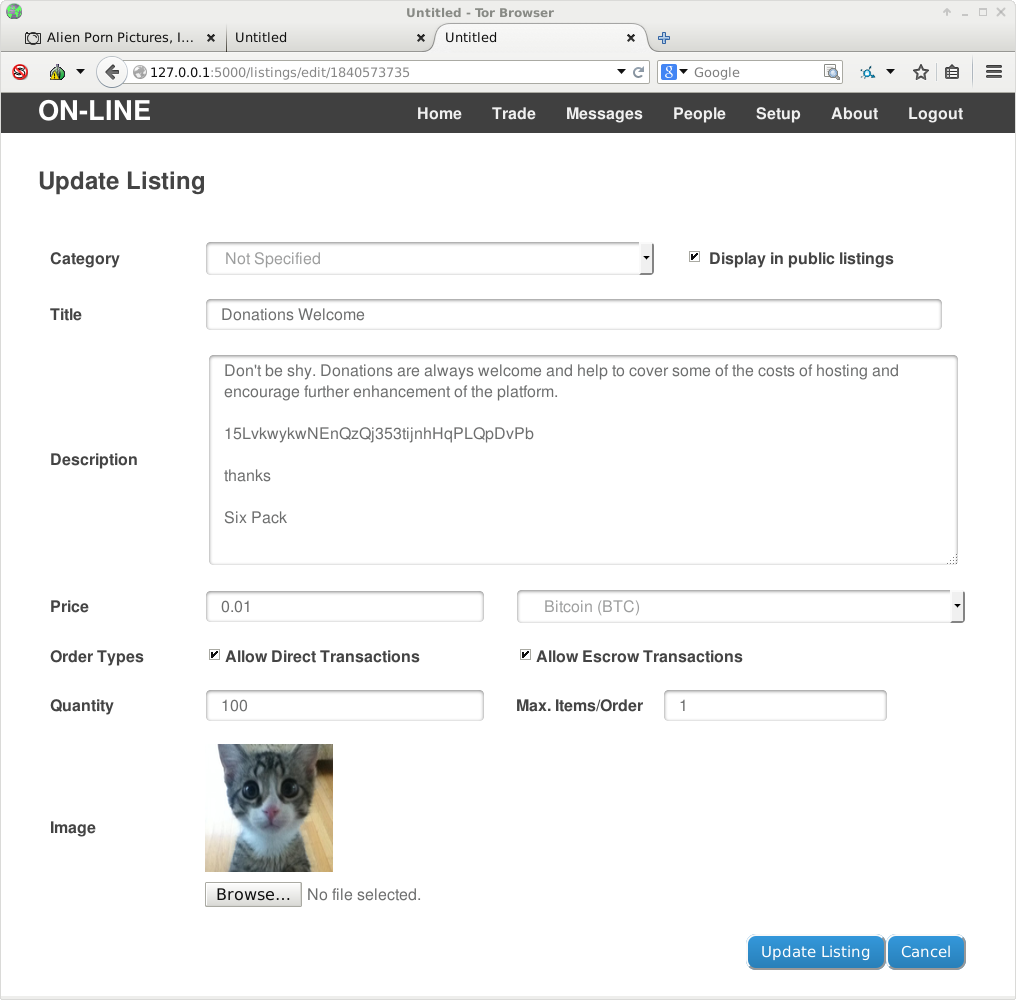
There is also a 'Trade' menu and from here it is possible to see the status of any current orders, that includes items that have you have ordered and items that you have sold. An additional option shown is 'My Listings' and from here you can create, edit and delete items you wish to sell.
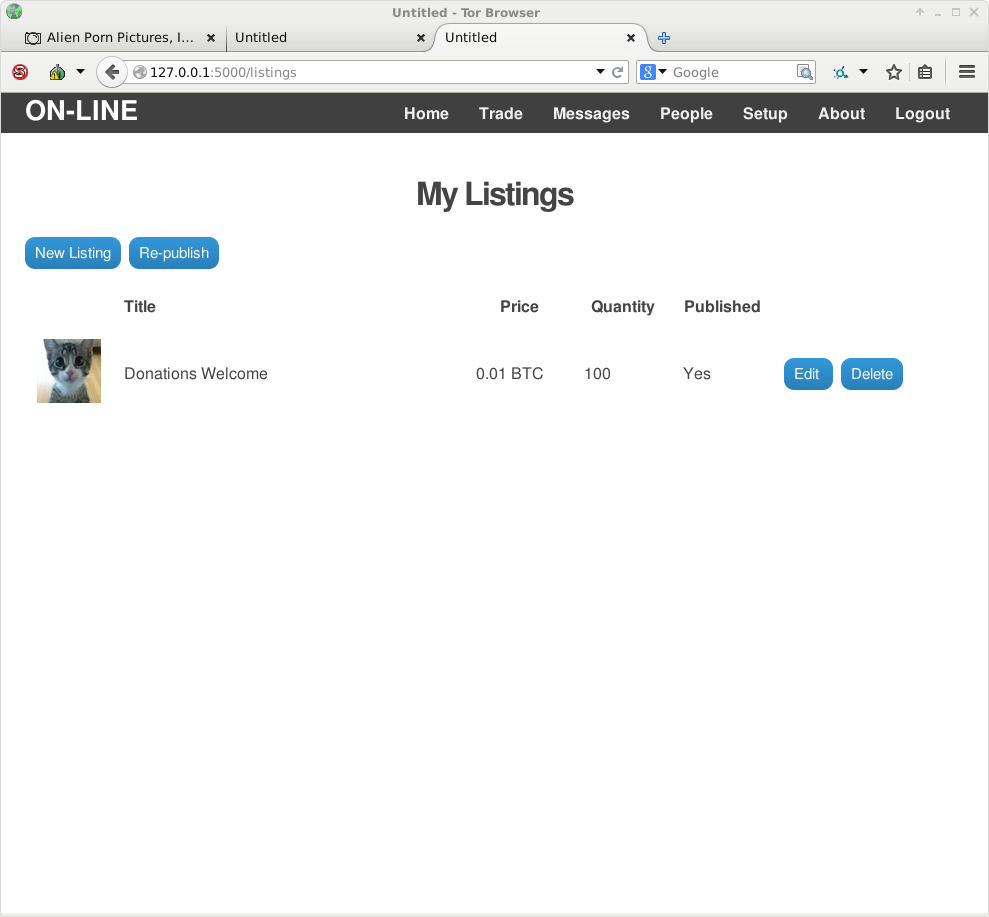
New items may be added to your listings from here using the 'Create' button,also listings can be re-publihed at any time (without having to logout and back in) by using the 'Republish' button after making changes to your listings. There are a number of fields that are required when creating a new listing such as title, description, price and currency. A number of additional fields may be completed if desired including providing an image, setting the quantity available, the item category and so on.
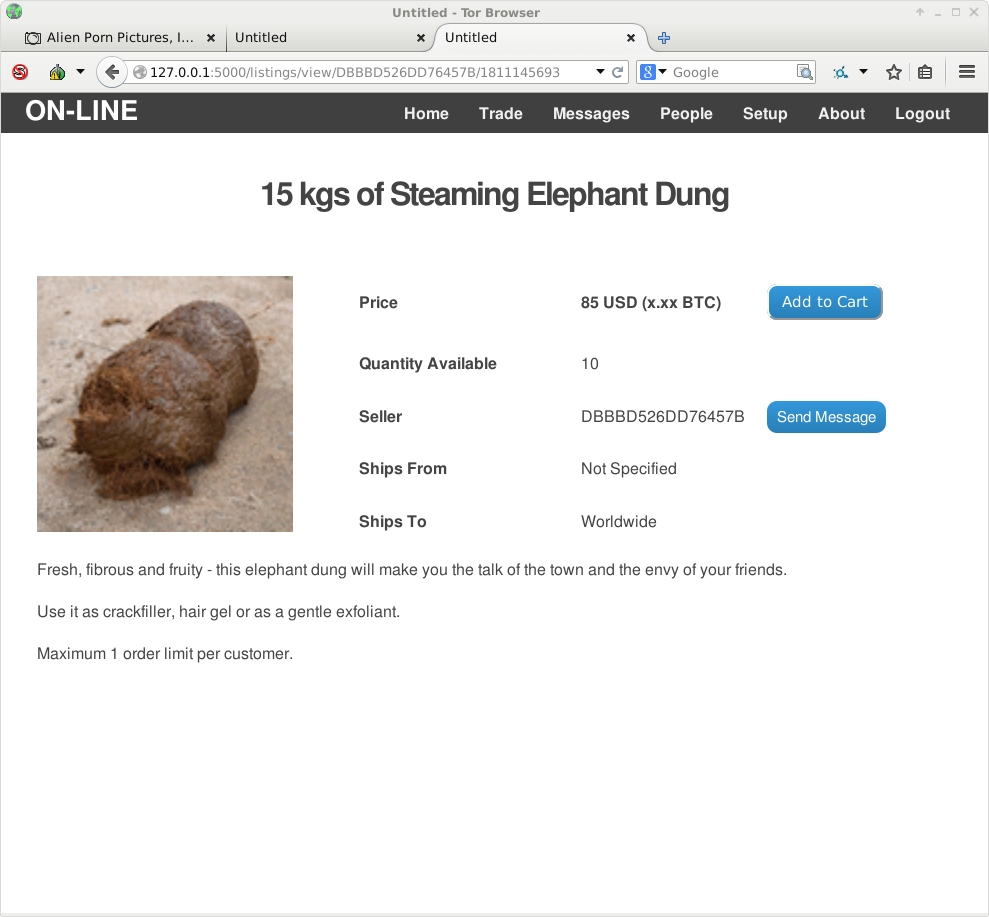
As you will have noticed on the 'contacts' and user profile pages, there is a button to view other users listings. This allows you to view, inspect and ultimately order items for sales from other users listings.
Selecting any of a users listings will allow you to view the full listing detail and add the item to your card for ordering. This listing caught our eye and is something we would consider purchasing.
At present (1st July 2015) - ordering functions are being implemented and will be added to this walk through when fully integrated.
Technical Overview
This is a secure messaging and communication client written in 100% Python. The client currently consists of the following main elements:
- Flask web front end providing user access to the application
- Sqlalchemy interface to PySqlCipher wrapped Sqlite database
- MQTT client for messaging
Security Objectives
- No unencrypted data shall be stored on the file-system at any time
- All user to user communications shall be encrypted
- Messages will automatically purge after a period of time
- Clients and brokers will attempt to mitigate denial of service attacks
- Brokers shall not have access to any unencrypted messages
Architecture
One or more Mosquito MQTT brokers provide the messaging backbone. These are deployed in bridged mode with all topics to be shared between brokers. It is up to broker operators to establish trust between themselves.
The basic client is a simple Flask web application which is the primary component of this platform. The client includes an MQTT stack and communicates with other peers by one or more brokers.
PGP keys are used as the primary identity, there is no central user database or password list. A user proves their identity to the system and other users using PGP only. All PGP operations are performed using GPG on the users system. All messages between users are automatically and transparently encrypted using PGP. Optionally messages may be automatically signed to prove authenticity to the recipient.
Basic Client Operation Overview
- Client application is started and may be accessed using a web-browser at http://127.0.0.1:5000
- If first run is detected then an initial set-up procedure is executed that requires the user to provide their PGP key and passphrase and a chosen display name. The application will create the encrypted local database and encrypt the database key using the users chosen PGP key. This concludes the initial setup.
- The user is prompted to select a PGP key and provide the corresponding passphrase to access the application
- The 'secret' file is PGP decrypted and the SQL password is then read and used to decrypt and access the local database.
- The client now attempts to establish a connection to the MQTT broker specified in the configuration. A customized PGP authentication plugin is used on each broker which allows client to authenticate using their chosen PGP key. The user identity consists of the 16 Byte PGP key ID.
- If the connection is successful then the client establishes a number of PUB/SUB topics on the broker using the users PGP key as a username. Any queued messages will be delivered to the client
- The client is now operational and may be used to send and receive messages.
Specialized Clients
A number of specialized clients can exist on the network which may be utilized by normal clients for enhanced functions and operations such as user directories, discussion boards and many other functions. This aspect transforms the platform in ways which will become clear as time progresses.